


ESP32 DevKit
The brain of the deck. It draws the keys, reads the touch panel and talks to the desktop app over USB.
- ChipESP32-WROOM-32, dual core
- LinkUSB serial
- PicturesStored on the board, survive a restart
- FlashingFrom the app or this website
 WdeckMacro pad
Two common modules, three printed parts and five screws. No circuit board to design or order, and an afternoon from parts to a working deck.
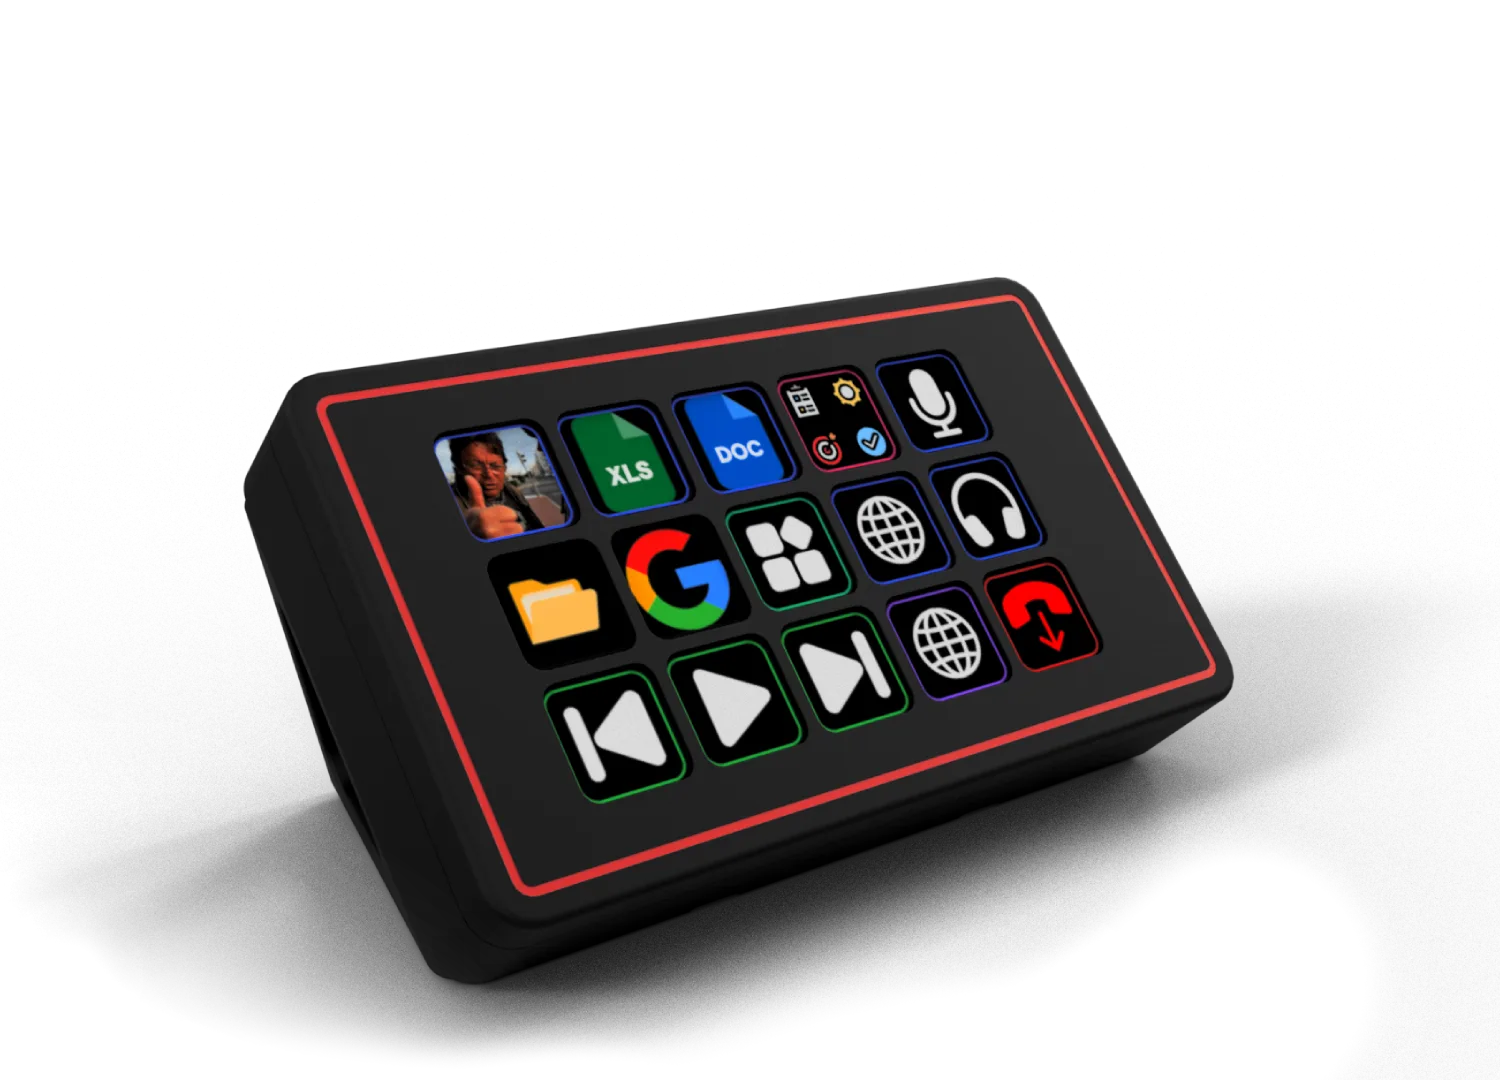
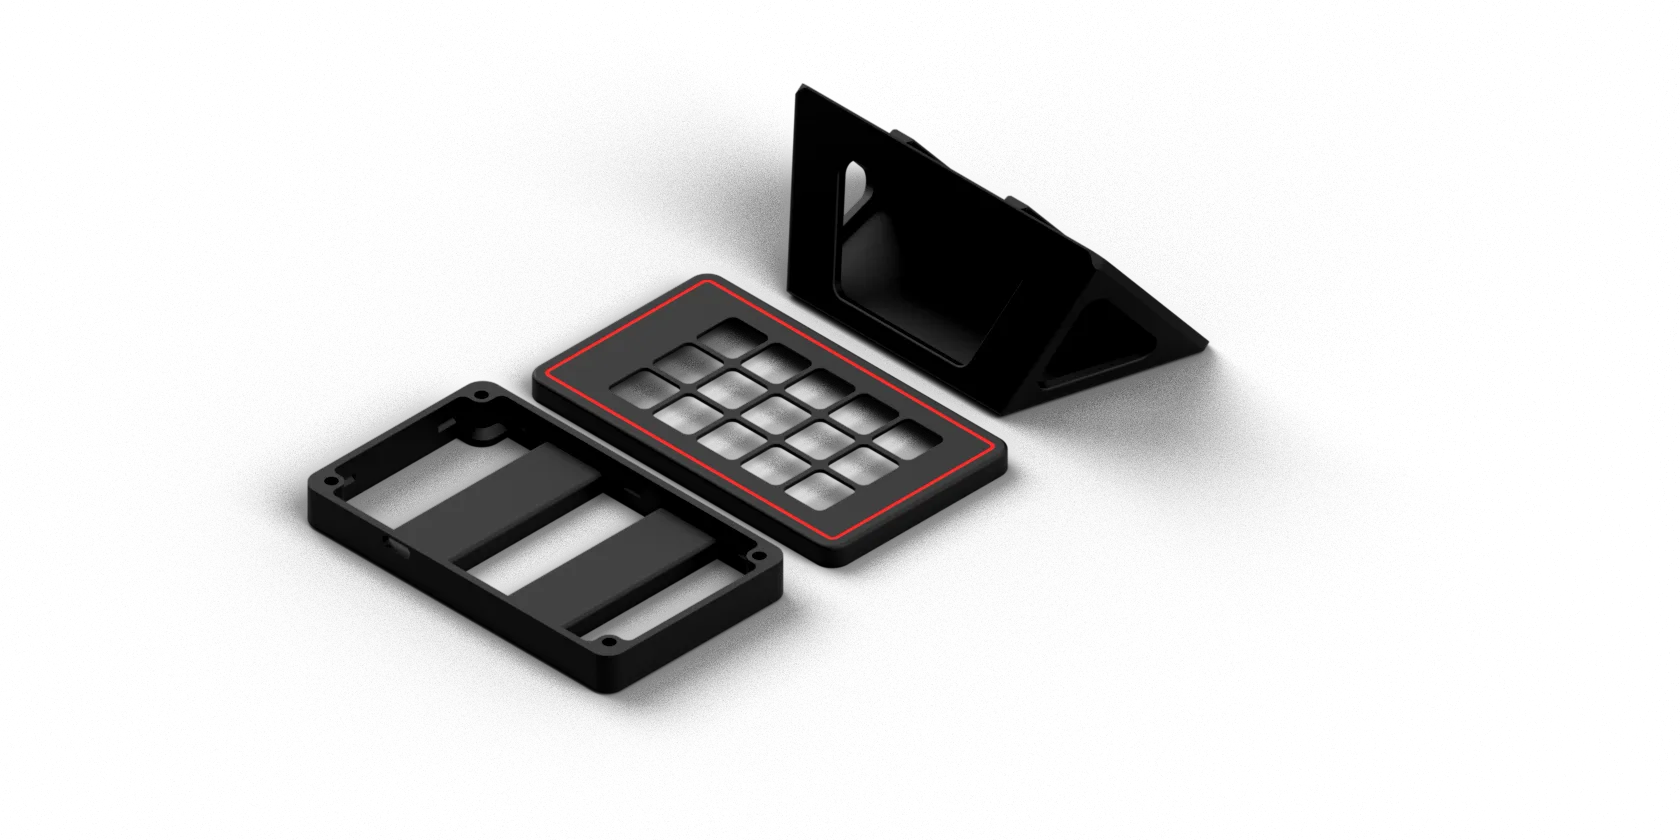
Order the two modules, print the three case parts and pick up five M3 screws. Point at a row to find the part in the model.

Four close the case, one holds it on the stand
Both are inexpensive modules you can get from any electronics shop. Drag a board to turn it.
The brain of the deck. It draws the keys, reads the touch panel and talks to the desktop app over USB.
A 480×320 colour screen with a touch layer. Screen and touch controller share the data lines, so MOSI and SCK go to both.
Any common FDM printer will do. Use one filament for everything, or give the case and the stripe their own colours.

Around 320 °C is enough for header pins.
Phillips, for the five M3 screws.

A few colours keep the eleven lines apart.

Charge-only cables cannot flash the board.
The build guide takes you from printed parts to a calibrated deck, one step at a time.