Visual key editor
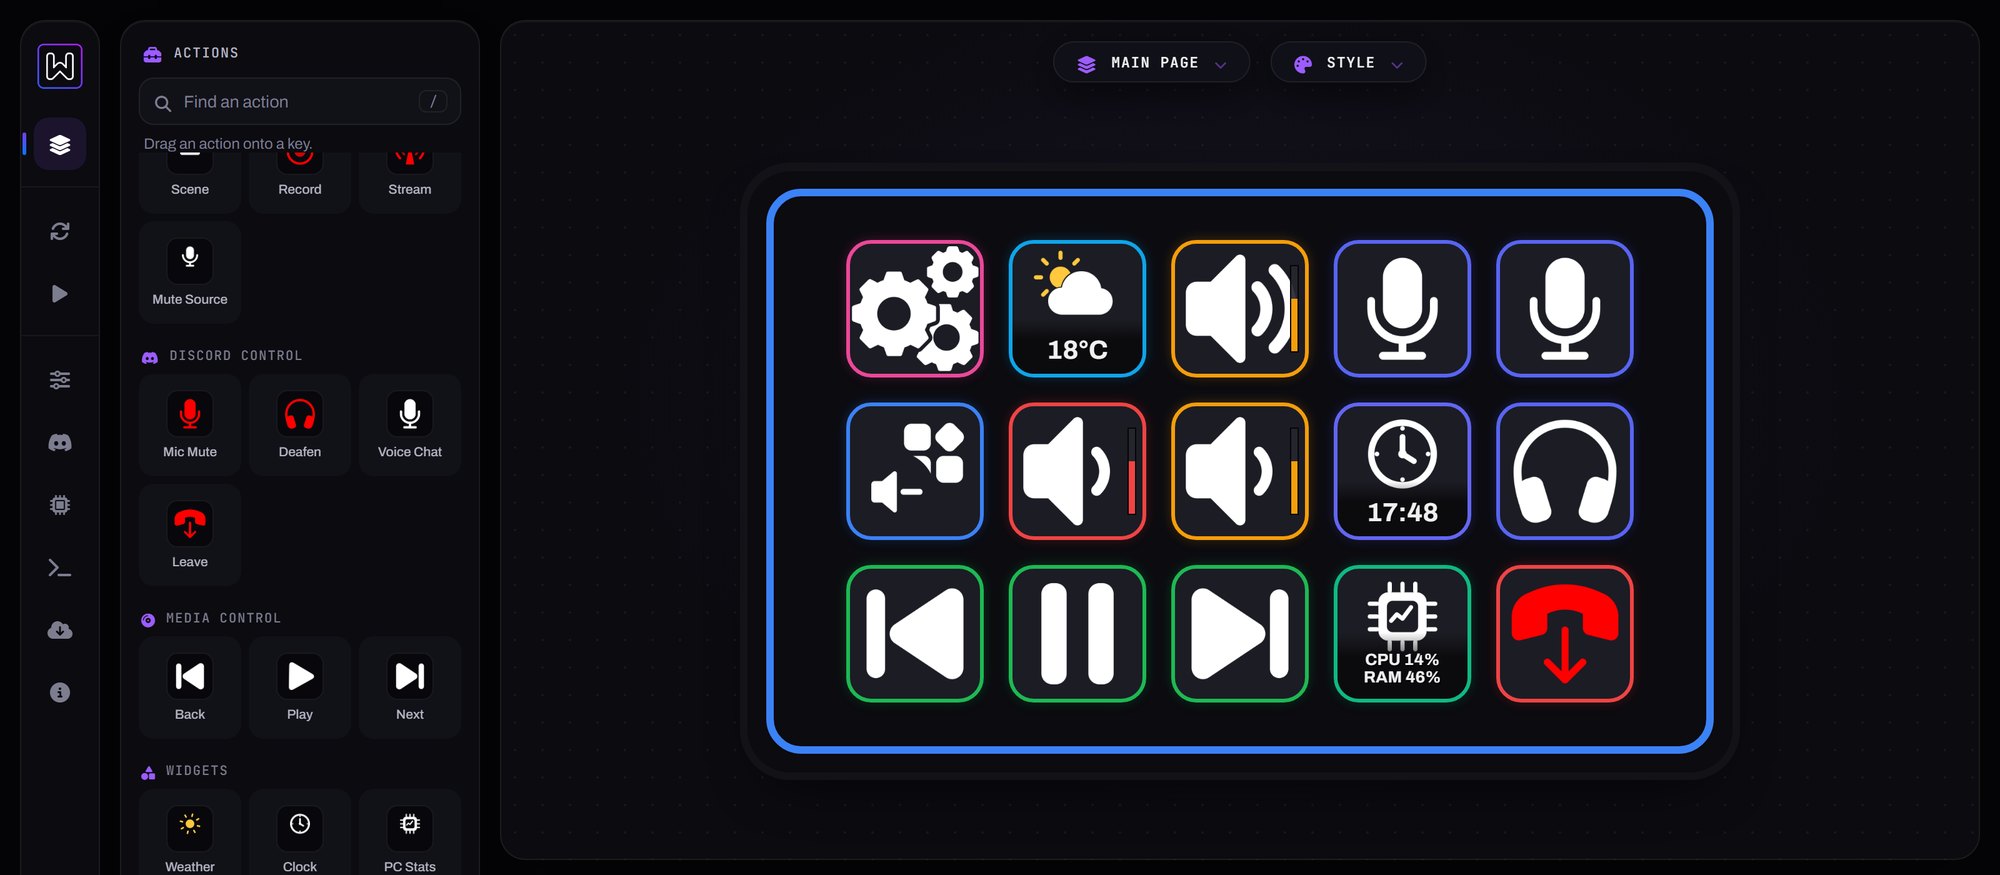
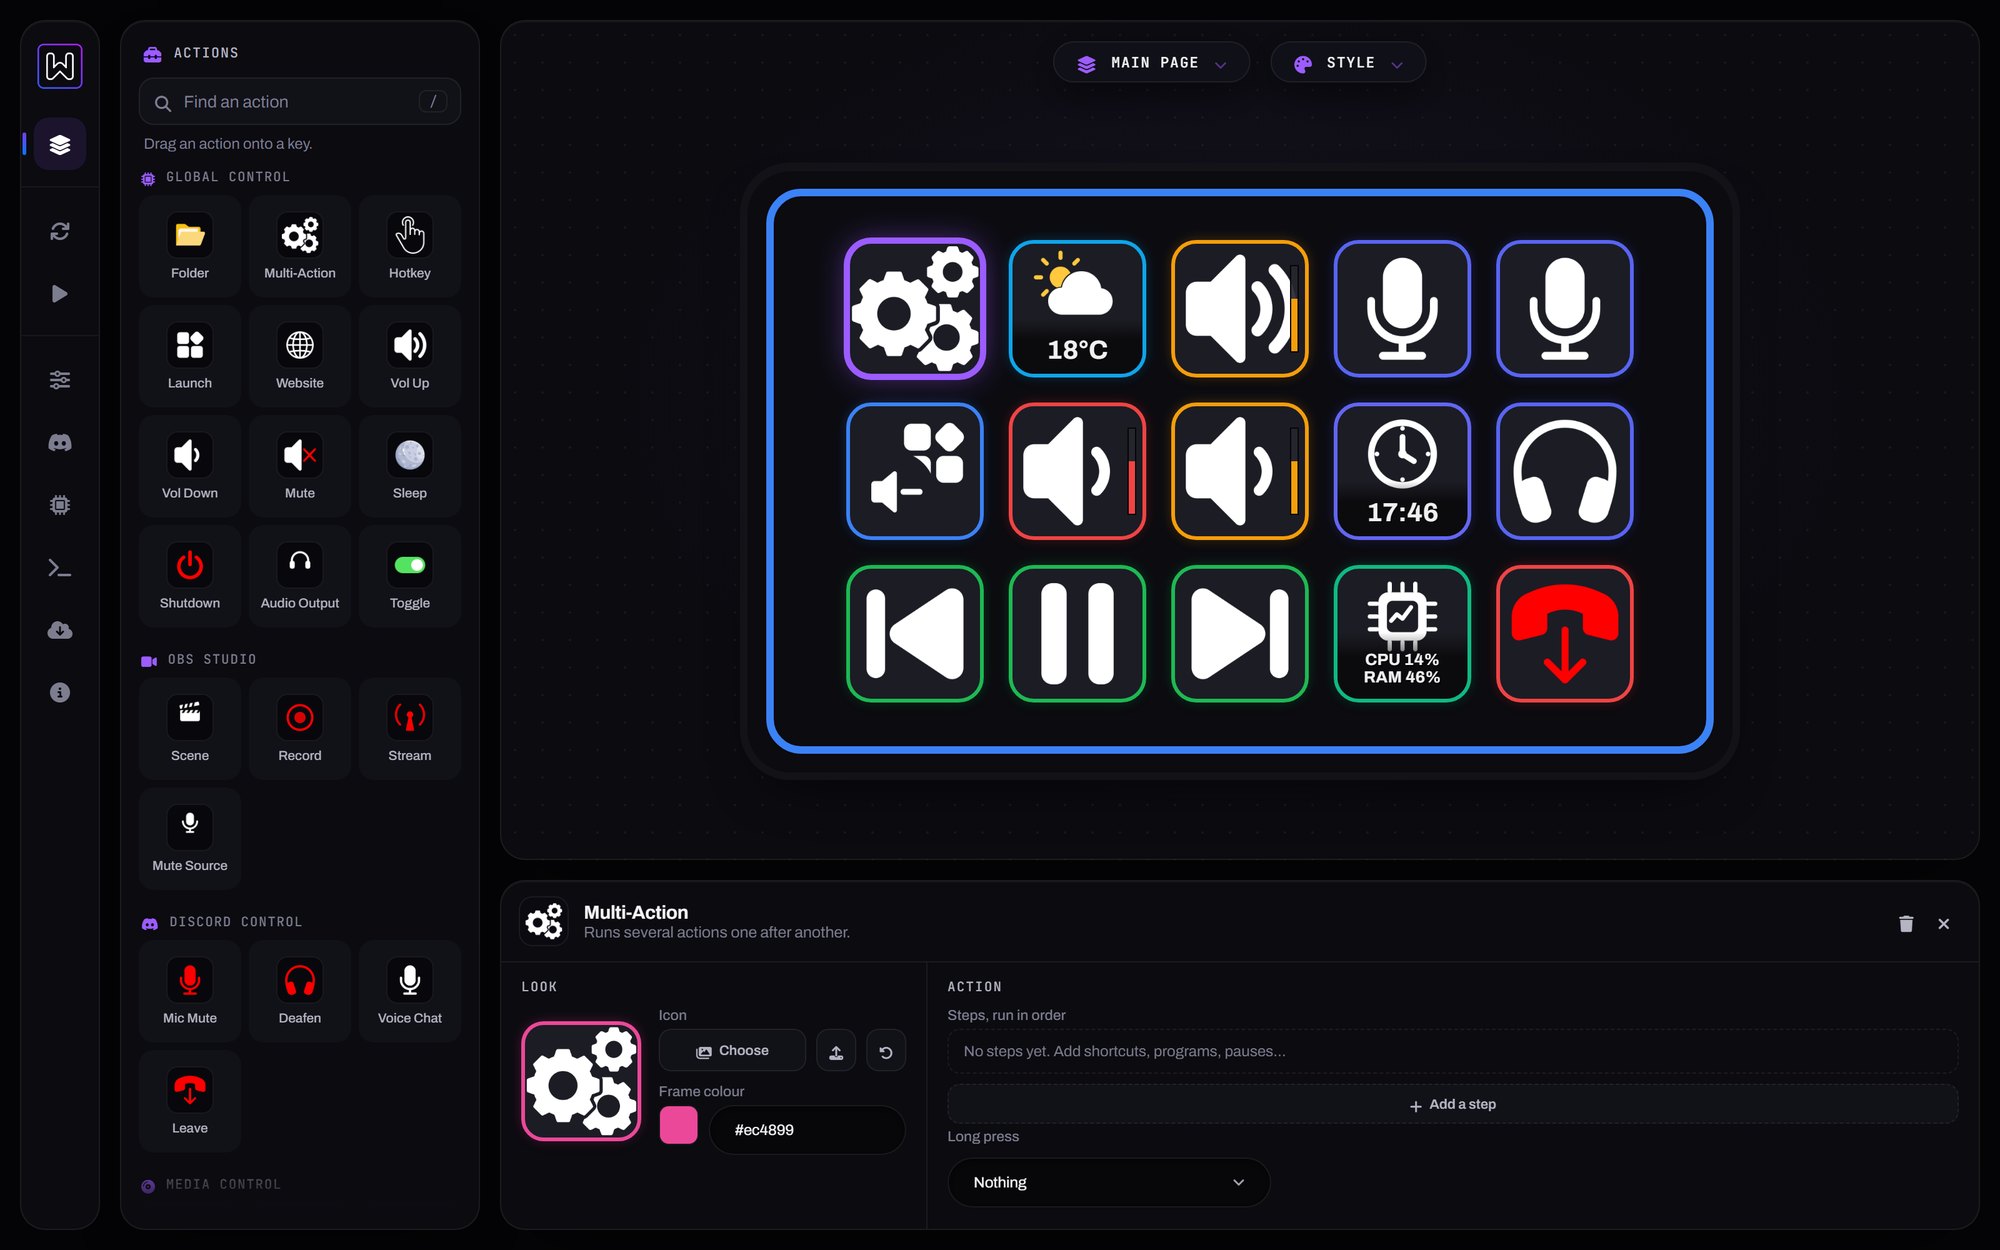
Drag actions from the toolbox onto the grid, then set a label, colour and icon for each key. The device follows along as you edit.
- Colour and custom image per key
- Icon gallery and uploads
- Pages and folders
Build layouts, assign actions and flash firmware from one app. It runs in the background and keeps the screen in sync over USB.
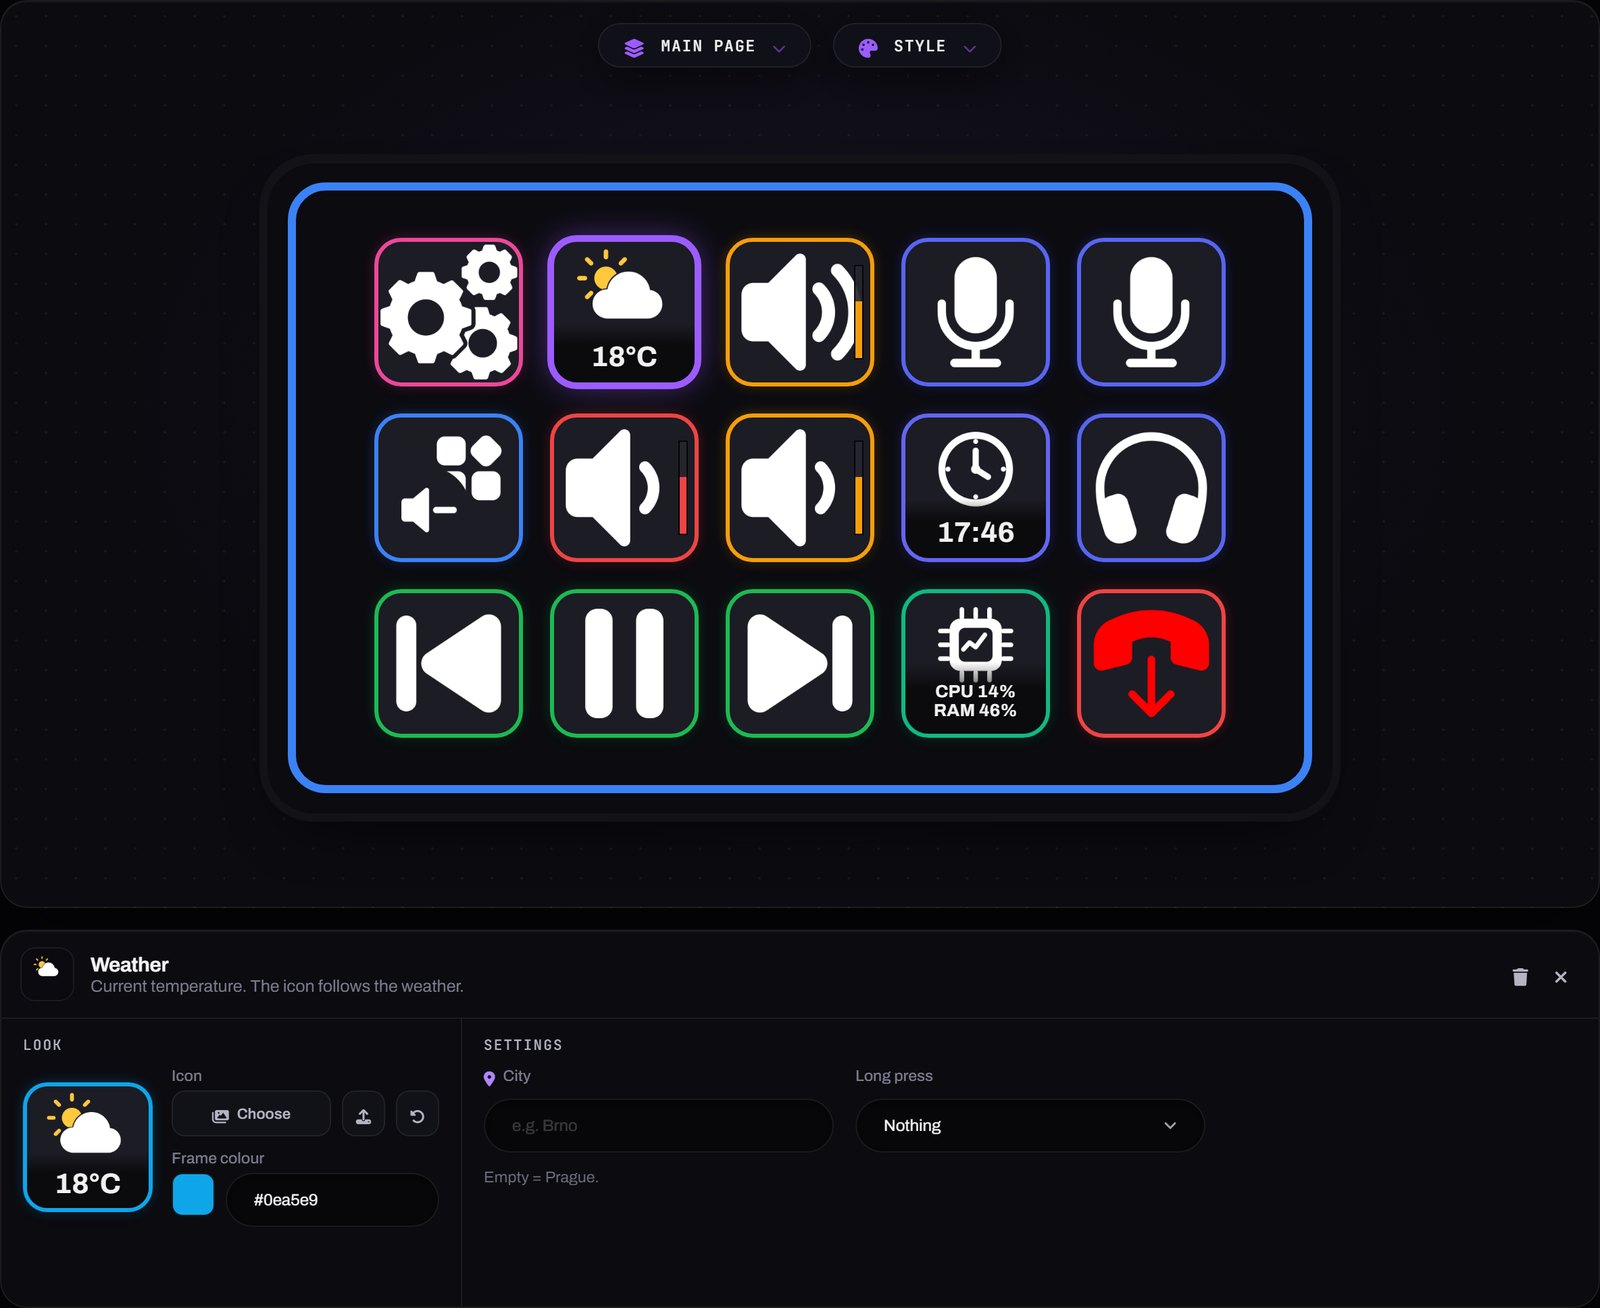
Drag an action onto a key and the device follows along.

Run the app as Administrator. Sending global hotkeys, changing per-app volume and launching programs all need it on Windows.
Five parts of the app, each shown as it looks today.
Drag actions from the toolbox onto the grid, then set a label, colour and icon for each key. The device follows along as you edit.

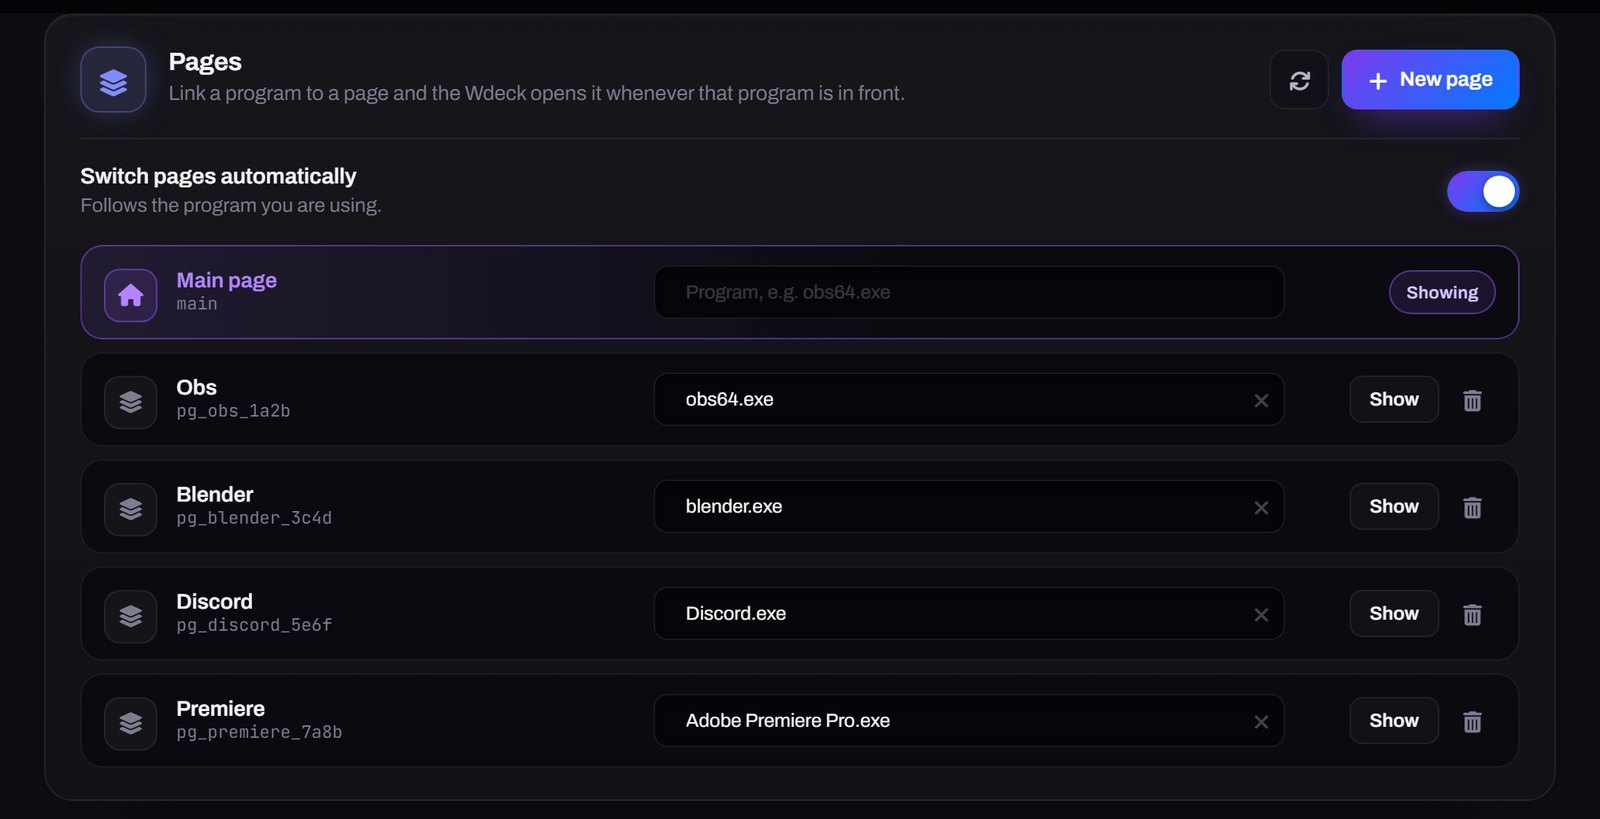
The app watches which window has focus and loads the matching layout on the device, so the keys always belong to what is in front of you.

Volume, microphone mute, screen brightness and media keys, plus OBS triggers — all without leaving what you are doing.

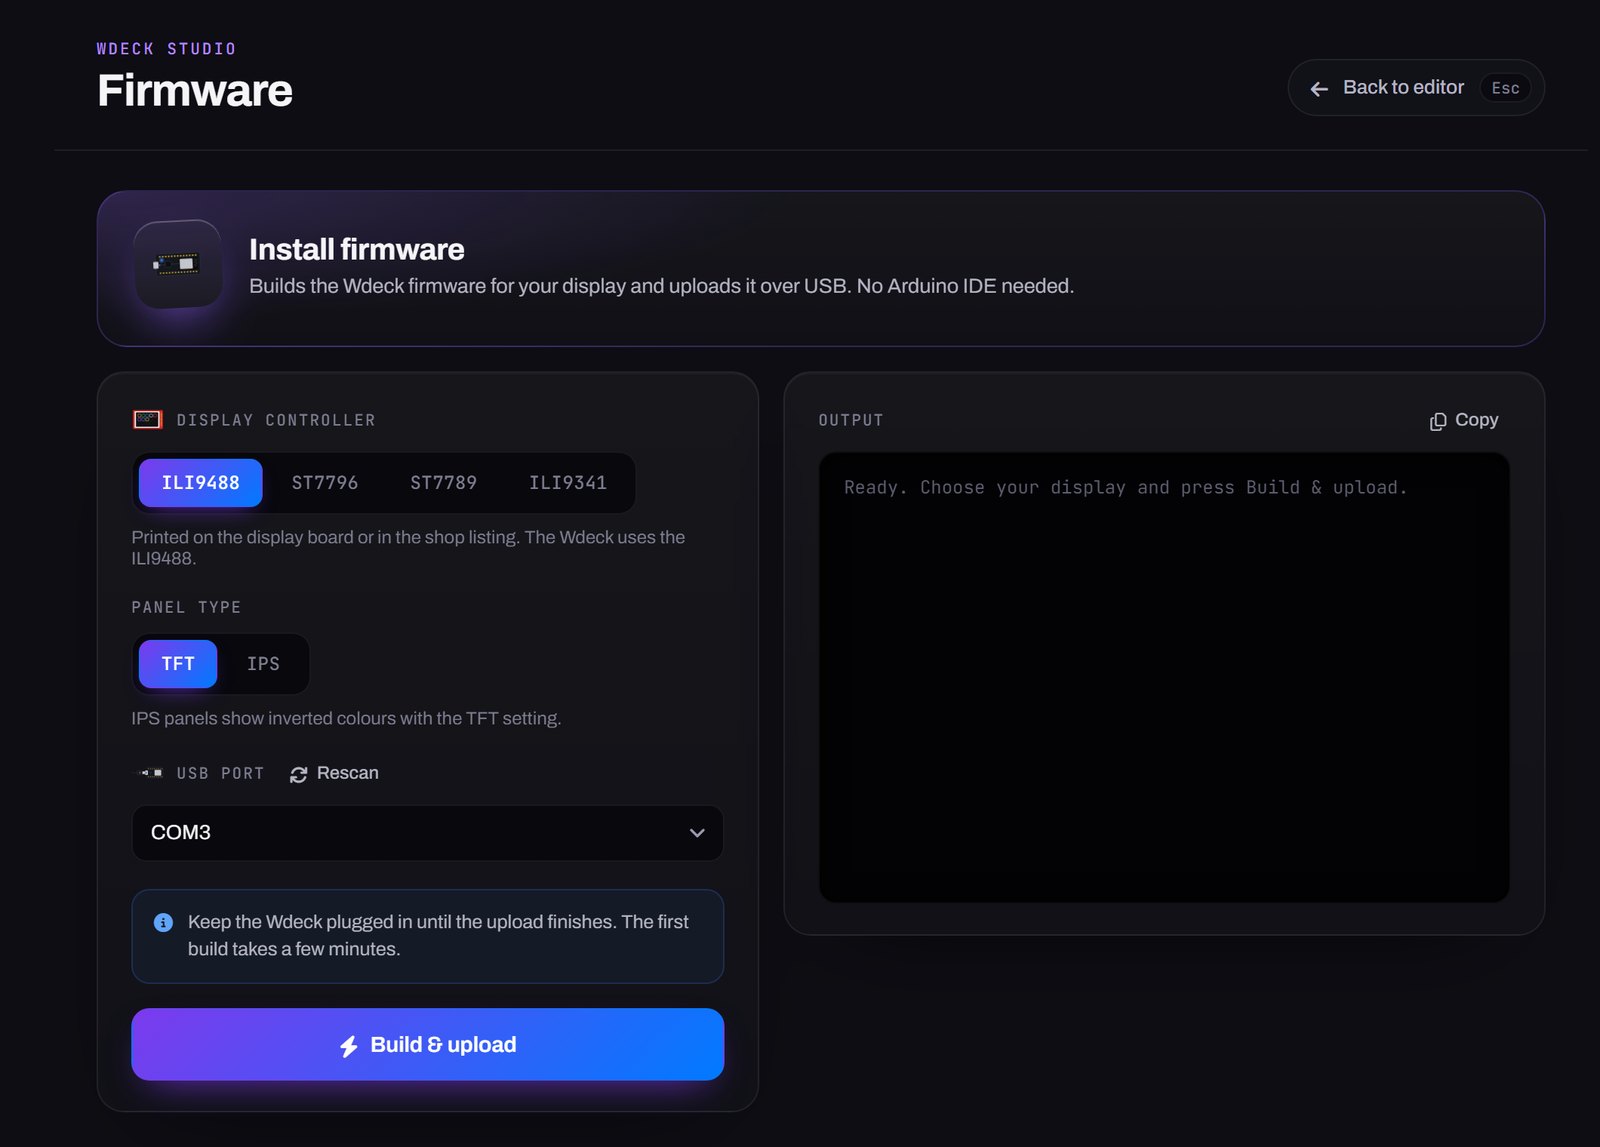
Pick the display controller and panel type, then press Build & upload. The app finds the COM ports and uploads the build — no Arduino IDE anywhere in sight.

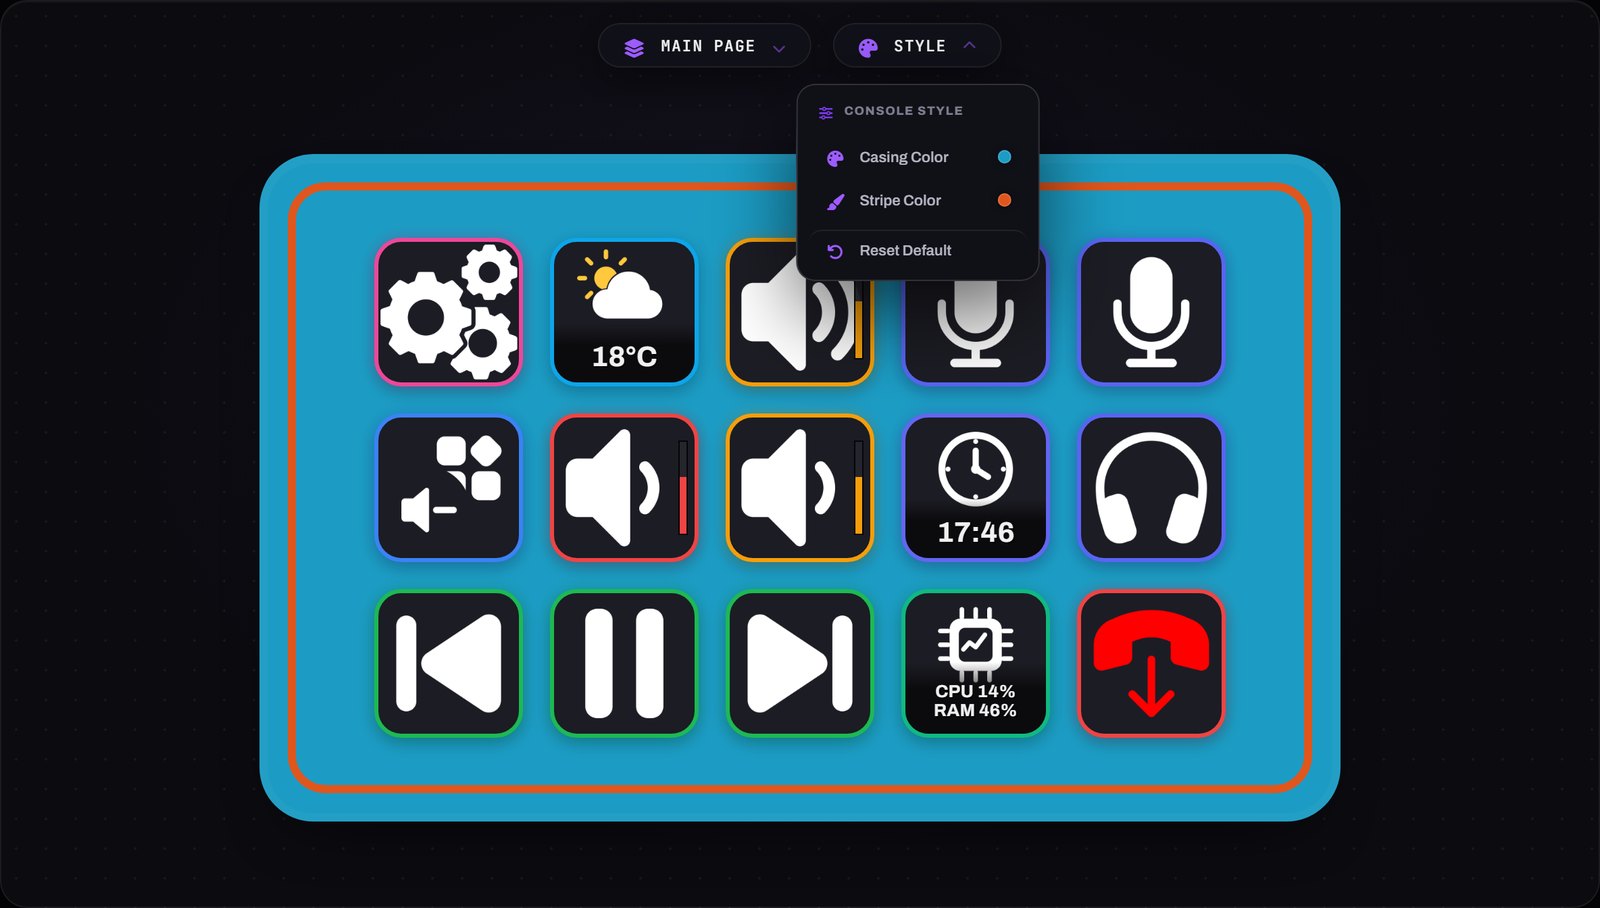
Set the on-screen casing and stripe colour so the preview in the app matches the printed deck on your desk.

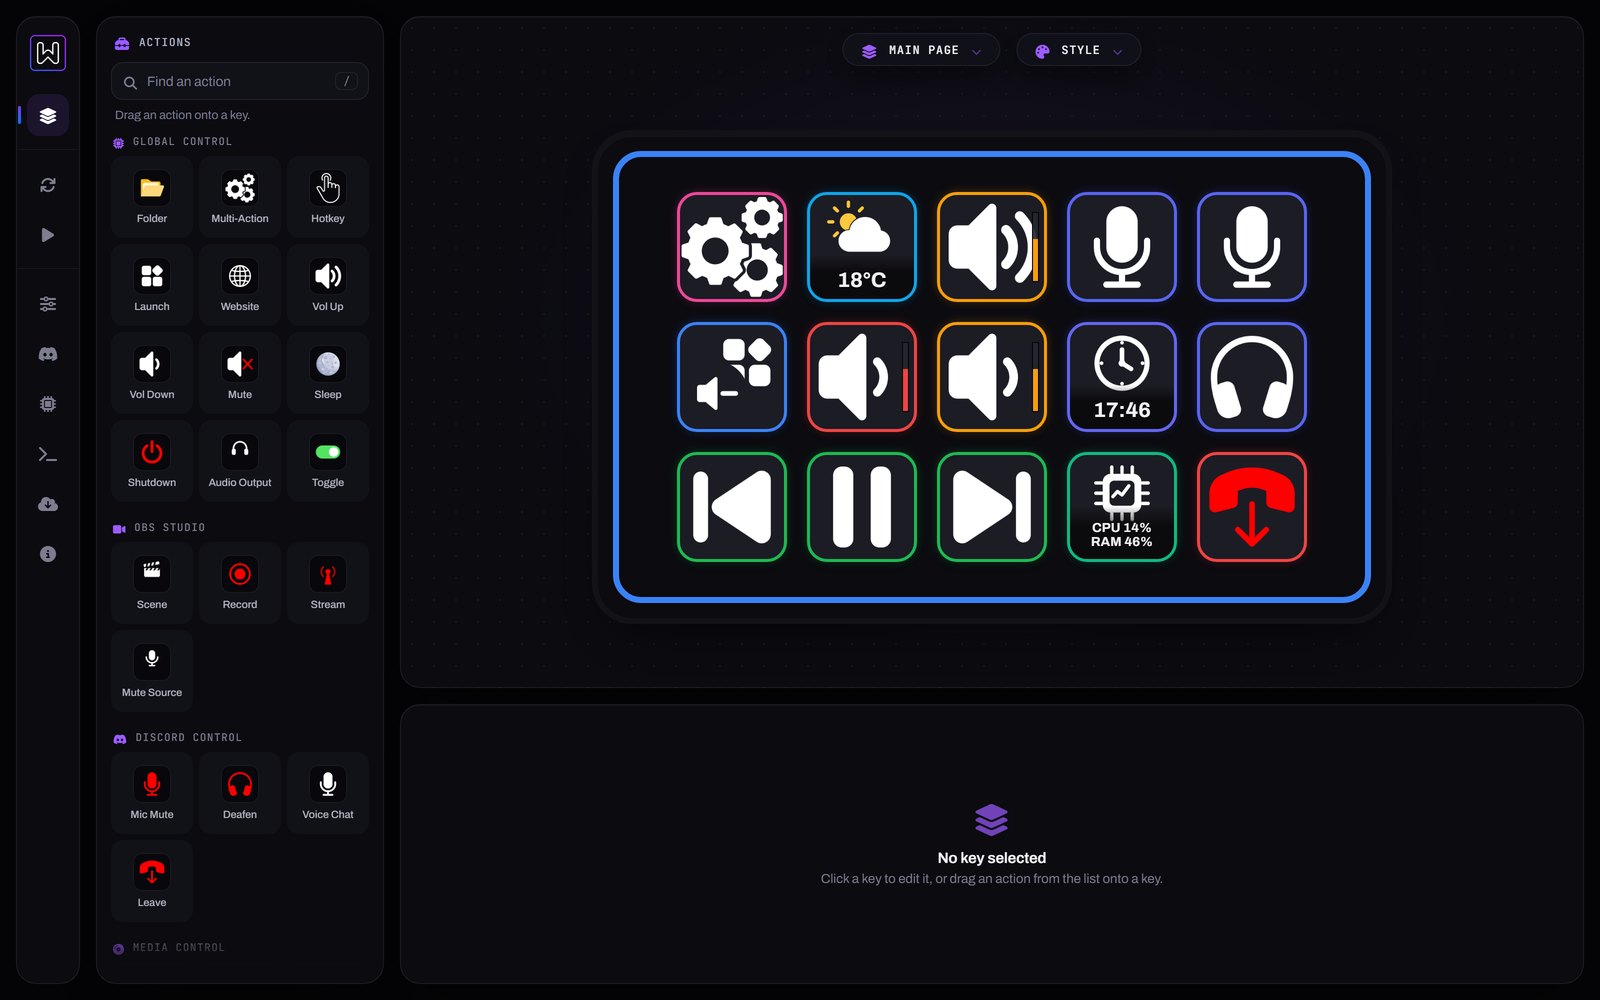
Every action sits in the app's toolbox. Drag one onto a key, adjust its label and icon, and it is ready to use.
The basics: shortcuts, programs, websites, system volume and power. A multi-action runs several steps in a row.
Talks to OBS through its built-in WebSocket, so the keys show whether you are live or recording.
Linked to the Discord app, so the mute key turns red the moment you are muted.
Uses the system media keys, so it works with whatever is playing.
Pick one running program; the key shows its icon and current volume.
Fifteen keys fit on a page. Folders open more pages, and a Back key is added to each one automatically.
Short videos in the build guide: Hotkey, Folder, Launch app, Web / URL, App volume, Discord.
Once the hardware is assembled, the software side takes a few minutes.

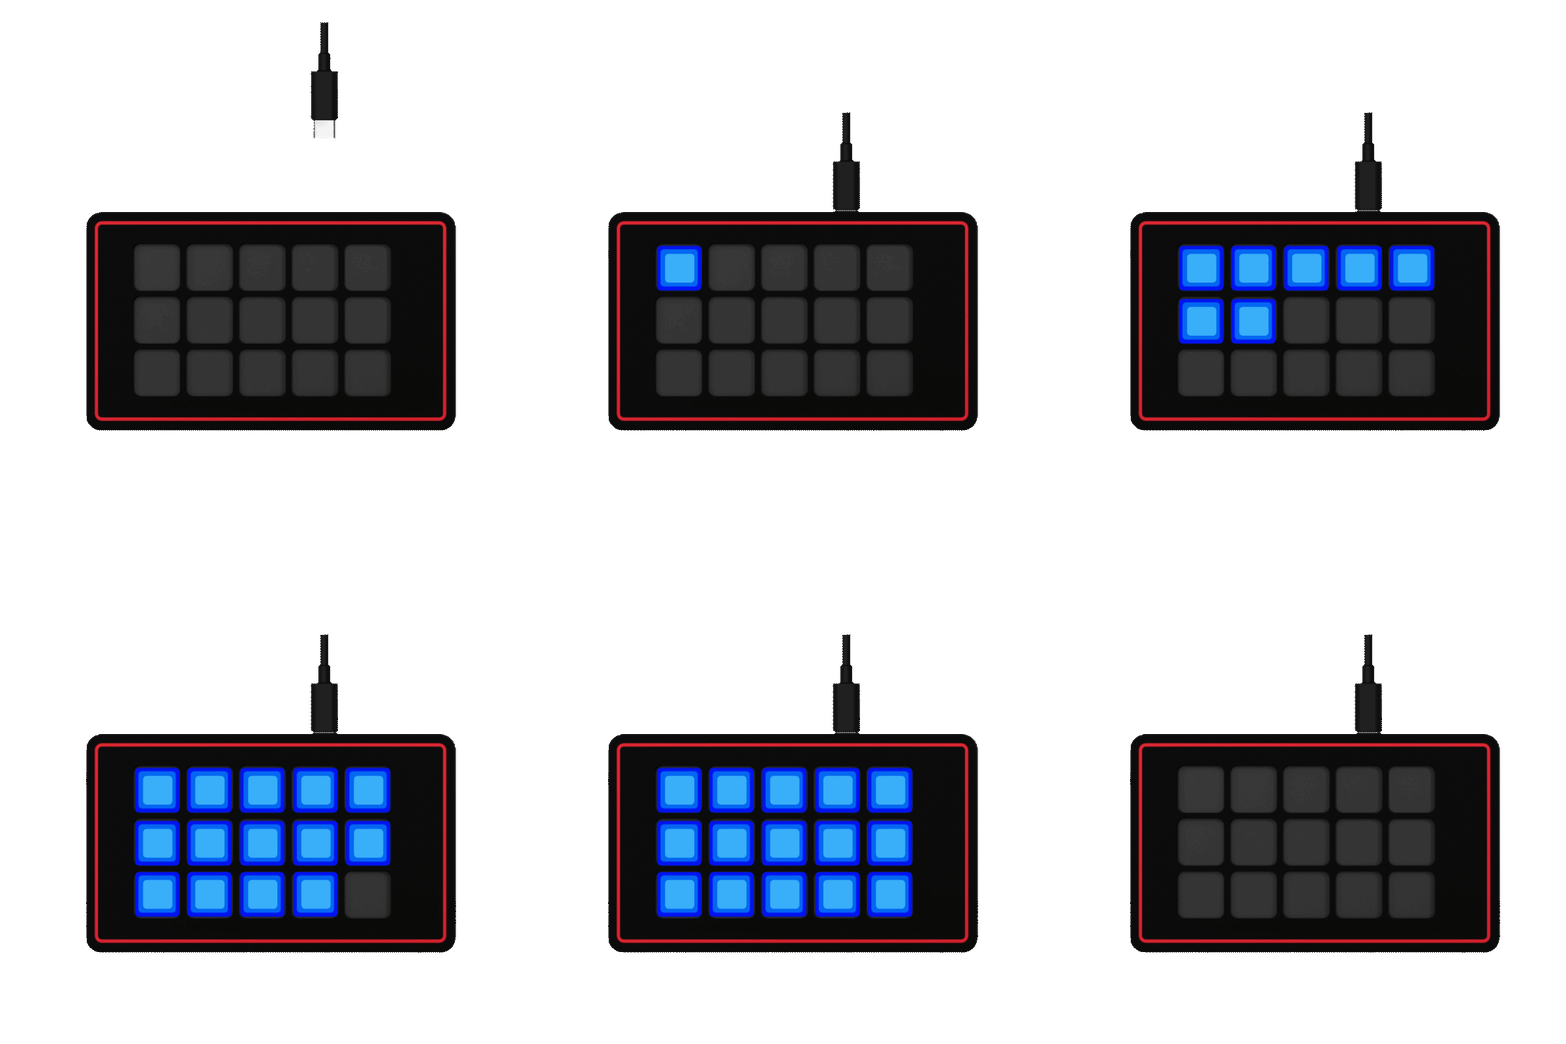
Plug the deck in over USB, open Install firmware, choose your display and press Flash.

Create a profile, drop actions on keys and pick colours. The screen updates as you edit.

Everything is open. Fork it, change it, send a pull request.
Editor, profile manager and firmware flasher.
Download↓ .zipArduinoSource for the device, for ILI9488 and compatible panels.
Download↓ .zipLibrariesTFT_eSPI, touch and the rest, pinned for a clean compile.
Download↓ .zipPythonPython 3.11, Flask and Socket.IO.
Download↓